We had finally decided that the next item on our “to buy” list for the house was family room curtains. I spent a LOT of time online browsing curtain choices and just couldn’t find anything I was in love with.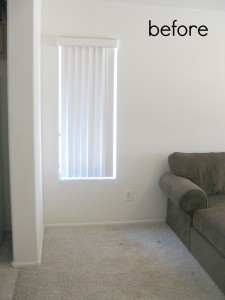
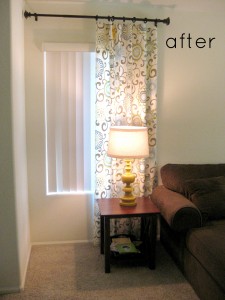
During her visit in April, my sister-in-law, Tammy, mentioned that the trend is to hang curtains high above the windows to make the room and the windows appear larger. Sure enough, as I checked out decor blogs, I found that “high and wide” is the way to go for curtains. So, I decided to try making my own curtains since I was looking for a longer length and since there are more fabric choices than curtain choices.
I ordered several fabric swatches from Fabric.com and decided on the Waverly Pom Pom Play Spa print. It has a yellow that’s just a lighter shade of my mustard lamp! 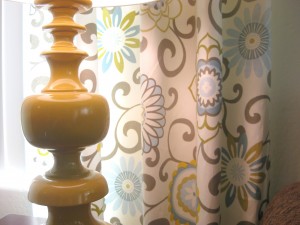 There’s also a light and a darker blue, an avocado green, and a brown gray mixed in.
 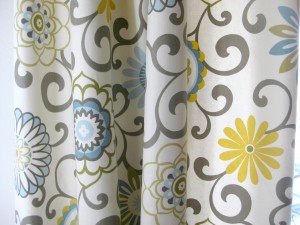 I was looking for something that had both mustard and blue, preferably with a cream background since I’d like to paint the walls a dusty pale blue. A patterned curtain was ideal since our couch and chair are a textured and solid brown. We needed some fun color!
While I am by no means a seamstress, after viewing this video tutorial on no-sew hems, I knew I could wield an iron accurately! JoAnn’s had the 7/8 inch ultrahold Heat-n-Bond adhesive hem tape that I needed. 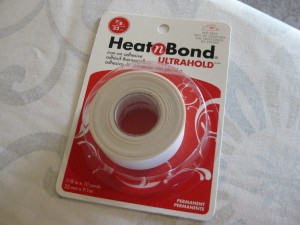 It worked like a charm!
First, I cut one panel of fabric to 8 feet long. To make sure I was cutting a straight edge, I laid the fabric down on our front room tile and lined it up with the straight edges there. It seemed to work pretty well. 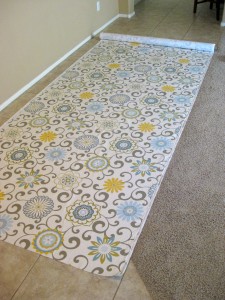 I didn’t trim the side edges for the first panel since I knew that part would be folded behind the curtain. But later, I decided I didn’t want to risk the wording and markings showing through, so I trimmed the sides of the other 4 panels. (As it turns out, you can’t really see the wording on the first panel anyway.) Eventually I cut the curtain size down to 89 inches after we hung the first panel and got the exact height I was wanting.
My next step was to measure 1 & 1/16 inch from the raw edge and pin the hem tape (paper side up) to the wrong side of the fabric. 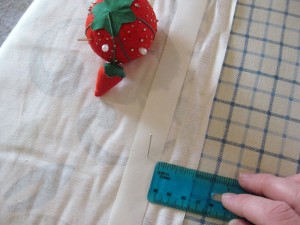 I wanted to make sure the tape was as straight and as perfect as I could get it. With the iron set on medium heat and no steam, I ironed the tape to the fabric. It needed to be heated for only about 3 seconds. Once I finished the entire side, I peeled off the paper, folded over the fabric, pinned it in place, and ironed the completed seam.
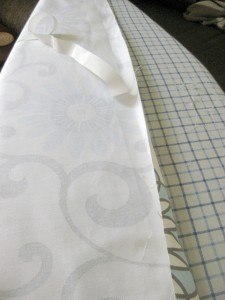
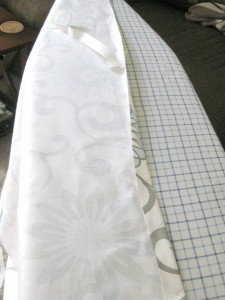 This time, the iron needed to be held on the fabric for about 10 seconds to make sure it adhered well.
Yes, it took a long time to iron 4 sides of 5 panels, but it was less stressful and a lot easier than sewing!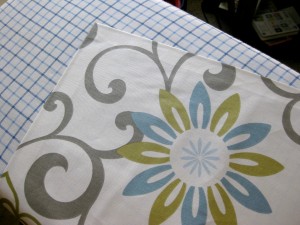
Now for the curtain rods. I had read that JC Penney offered extended length rods, which is what I was looking for. I needed a rod almost 15 feet long to span the width of our family room. That way the window and the sliding glass door would look balanced even though they are at different heights. 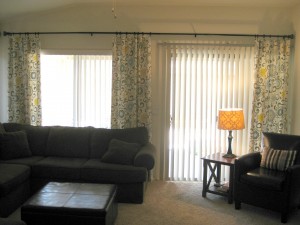 I chose the Linden Street Dartmouth rod in the Sienna Bronze finish. The 40 inch extender rod came in the same finish.
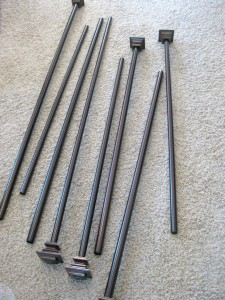
Of course I also needed curtain clips to hold the fabric panels to the rod. It was extra money, but I loved not having to make rod pockets on the fabric panels! Instead of using the ‘s’ shaped clips that matched my rods, I opted for circular curtain clips that I matched to the rod in the store. They were a little bit cheaper too, and I love the look!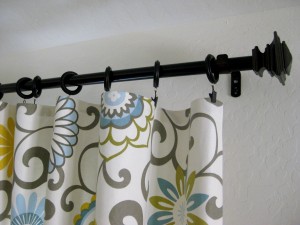 I used one set of 7 clips per panel.
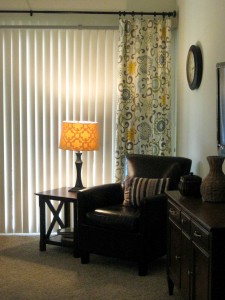
Finally, the curtains are done and are hanging in the family room! Stephen was very patient and gracious in hanging the rods for me. 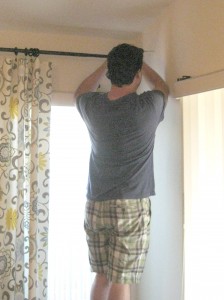 He’s gotten used to how picky I can be about everything, and he did a great job. Silas even got in on a little of the action.
 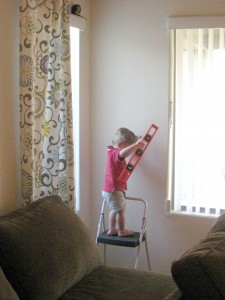 We hung the rods about 10 inches above our windows. I wanted the bottoms of the curtains to graze the carpet.
 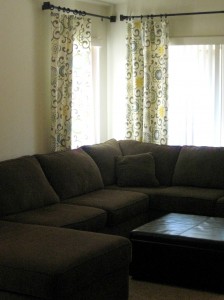 The two windows on the east wall are very narrow and close to the corners of the room, so I hung one panel on each and made the curtain overlap the window just a bit. That way, the windows appear wider and the fabric helps fill in the vast white wall on that side of the room.
 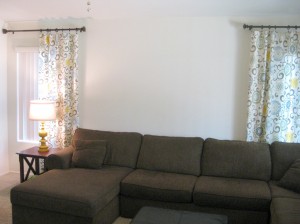 The taller curtains with the dark rods at the top really draw your eyes upward.
I love how much cozier our family room is now!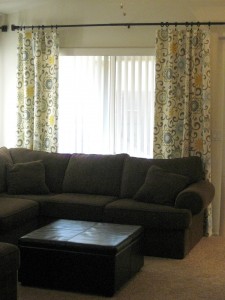
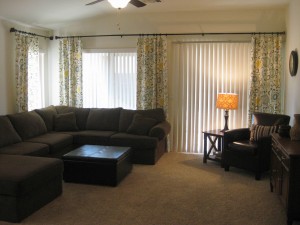
Love them! I still haven’t touched the sewing machine my MIL gave me a month ago!
Yaaaay for curtains! They look awesome.
You did a great job on the curtians. their real pretty. Great job!!
Love them Great job with the little windows They look like “normal” sized windows
[…] and white chevron curtains were a project of mine last year. I made them the same way I did the family room curtains, and they turned out just as I had hoped. The curtain rod was one I had from our Indiana Cottage, […]
You did a wonderful job and it really looks nice!
Did that fabric choice come in other colors?
I ‘m looking for a darker background to make my pearl leather couch pop out from our tan walls.
Beautiful!!! Does this fabric need lining? I recently painted my kitchen cabinets a light grey and new flooring, i think these will give my kitchen the pop of color that i have been looking for. I’m glad to hear the ” brown” has a grey hue to it. i will most likely accent with the Yellow!! Super excited!! Thanks for sharing.
Thanks! I’m not a seamstress, but I don’t think this fabric needs a lining. It’s pretty thick home decor fabric, so it blocks the light well. The brown/gray could definitely go either way, so it would look cute with gray cabinets.